
You finished the deliverables, the client said thanks, and you opened a new project file. Somewhere between that handoff and the next kickoff, the final invoice didn't go out. Or it went out without the deposit credit. Or it landed in the wrong inbox because the billing contact changed mid-project.
Most late-payment problems get blamed on bad clients. Some of them start with a sloppy project closeout.
A freelance project closeout checklist is the final routine you use to confirm acceptance, reconcile the balance, send the last invoice, complete the handoff, and archive the engagement.
The onboarding checklist locks down terms before work begins. This one locks down payment after the work ends. Same idea, opposite end of the project.
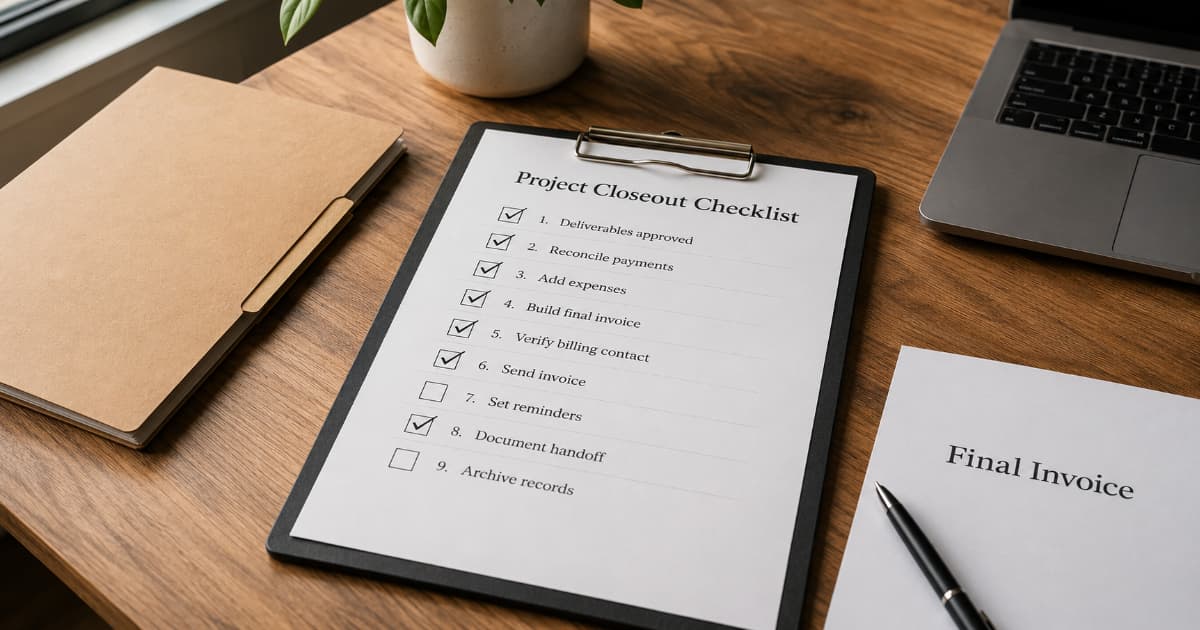
The Quick Checklist
Before you archive a project and move on:
- Confirm deliverables are complete and accepted
- Reconcile deposits, milestones, and change orders against the contract total
- Add approved reimbursable expenses
- Build the final invoice with the correct balance due
- Verify the billing contact and submission details
- Send the invoice and confirm receipt
- Set payment reminders and log the invoice in your AR
- Document the handoff (files, credentials, sign-off)
- Move the project to awaiting payment, then archive it once paid
Each step is covered below.
1. Confirm Deliverables Are Complete
Before you invoice, verify that the scope is closed.
Check your contract, statement of work, or accepted quote against what you actually delivered. If revisions were included, confirm you've used the agreed number of rounds. Extra rounds beyond that belong on the final invoice as change-order line items.
Get written confirmation that the deliverables are accepted. An email reply saying "looks good, we're all set" is enough. If your contract includes a deemed-approval clause (e.g., "deliverables are considered approved if no feedback is provided within 5 business days"), note the date that window closes.
Written acceptance gives you documentation if scope or completion is questioned later. Without it, a client can argue the work wasn't finished.
For how scope and deliverables should be documented from the start, see Freelance Statement of Work.
2. Reconcile Deposits, Milestones, and Change Orders
Pull up the contract total and subtract what has already been paid.
If you collected a deposit at the start, that amount reduces the final balance. If you billed milestones throughout the project, subtract those too. If approved change orders added scope, add those amounts.
The math should look like this:
Contract total + approved change orders - deposit paid - milestone payments received = final balance due
Show this reconciliation on the invoice itself or in the notes. Clients with AP departments especially appreciate seeing the running total. It answers "why is this amount different from the original quote?" before anyone has to ask. If you used numbered change orders during the project, reference each CO on the final invoice so the math is traceable. See Freelance Change Order Template for the approval and numbering process.
If the project involved milestone billing, see Milestone Billing for Freelancers for how each phase should have been invoiced. For reconciling deposits specifically, see Partial Payments on Invoices.
3. Add Approved Reimbursable Expenses
If you paid for anything on the client's behalf during the project (stock photos, domain registrations, subcontractor costs, printing, travel), list each item as a separate line on the final invoice.
Include a description and the exact amount for each expense. Attach receipts if your agreement requires it or if the amounts are large enough to invite questions.
Don't bundle expenses into the service fee. Separate line items are clearer for both sides and easier to defend if something gets questioned.
For formatting and documentation guidance, see How to Invoice Reimbursable Expenses.
4. Build the Final Invoice
With deliverables confirmed, financials reconciled, and expenses listed, build the invoice.
The final invoice should include:
- Reference to the original agreement: quote number, SOW title, or contract date
- Service line items for any remaining work not covered by prior milestone invoices
- Reimbursable expenses as separate line items
- Deposit and milestone credits shown as deductions or referenced in the notes
- The correct balance due after all credits
- Payment terms matching the contract (Net 15, Net 30, etc.)
- Payment instructions: bank details, payment link, or both
If you need a refresher on invoice structure, see How to Create a Professional Invoice. If the project was quoted before work began, your final invoice should reconcile cleanly against the accepted quote. See Freelance Quote vs Invoice.
Build your final invoice in minutes.
BillerBear lets you add line items for completed work, deposits, and any remaining balance, then send a clean PDF.
Create a free invoice →5. Verify the Billing Contact
The person you worked with day-to-day may not be the person who processes invoices. That gap widens when the billing contact changed during the project or the company restructured mid-engagement.
Before sending, confirm:
- The correct billing email or portal
- Any required PO number or reference code
- The legal entity name (must match their records exactly)
One wrong field can delay processing or push payment to the next cycle at some companies. If you locked this down during onboarding, pull it from your onboarding notes or client file. If you didn't, ask now.
For email delivery details, see How to Email an Invoice to a Client.
6. Send the Invoice and Confirm Receipt
Send the invoice as close to project completion as possible. Under most payment terms, every day you wait adds a day to your payment timeline.
After sending, confirm receipt within 2-3 business days. A short message works:
Hi [Name],
Just checking that Invoice #[number] for $[amount] came through and reached the right billing contact. Let me know if you need anything else from me.
Thanks!
This catches routing errors early and starts an informal clock that makes follow-up easier if payment is late.
7. Set Reminders and Log the Invoice
Once the invoice is sent, set up your follow-up system before you move on mentally.
- Enable automated payment reminders so they fire on the due date and after. Automated reminders tend to be more reliable than calendar notes, especially when you're already deep in the next project.
- Log the invoice in your accounts receivable. Note the client, amount, due date, and status. If you review AR weekly, this invoice should appear in your next scan.
For automated reminder sequences, see Automated Invoice Payment Reminders. For how to build and maintain a simple AR ledger, see Accounts Receivable for Freelancers.
If payment is late, your follow-up starts here: When to Follow Up on an Invoice.
8. Document the Handoff
Closing the invoice isn't closing the project. Make sure the client has everything they need so they don't come back with questions that reopen your time commitment.
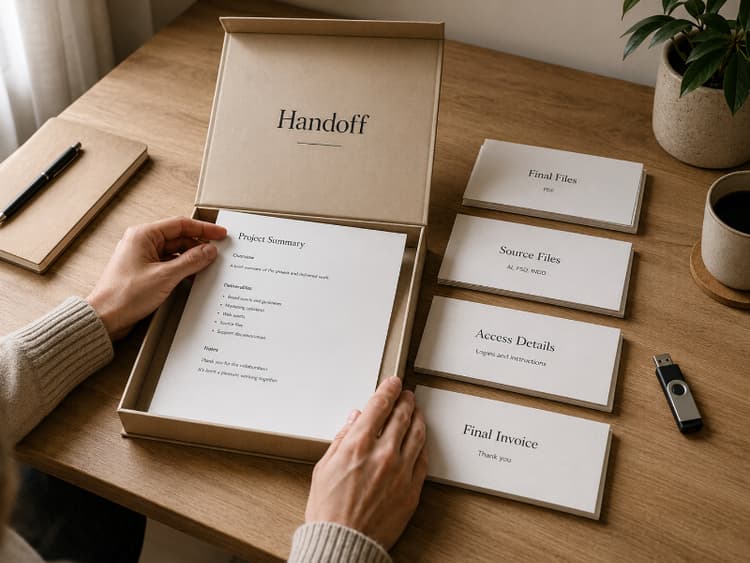
Depending on the project, a handoff package might include:
- Final files in the agreed formats
- Source files or working documents if your contract includes them
- Login credentials or access transfers
- A brief summary of what was delivered and any open items
Send this as a separate communication from the invoice. Combining the handoff with the invoice muddies both: the client processes one and overlooks the other.
If your contract says ownership transfers only after full payment, follow that clause. Deliver the agreed files or access on the agreed timeline, and make the transfer point explicit in the final handoff. See Freelance Contracts That Actually Protect Payment for how to structure this.
9. Close the Project in Your Records
After you send the final invoice, keep the project in awaiting payment until the balance clears.
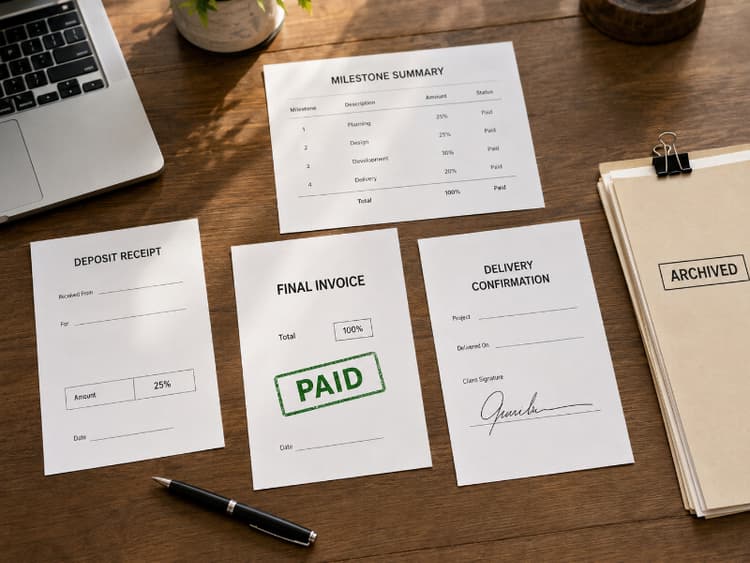
- Mark the invoice as paid with the payment date
- Archive the client record with the contract, SOW, invoice copies, and payment confirmation
- Note anything useful for next time: Did they pay on time? Did the scope change? Would you adjust terms for a repeat engagement?
Don't mark the invoice paid based on a client saying "we sent it." Confirm the payment in your bank or processor first. If a client claims they paid but you can't find the deposit, see Client Says They Paid but You Haven't Received It.
These records matter at tax time. You'll need to match invoices to payments received, especially if you use cash-basis accounting. They also matter if a dispute surfaces months later and you need to show what was agreed, delivered, and paid.
For tax prep, see The Freelancer Tax Prep Checklist.
Close It Before You Forget It
The gap between "project done" and "properly closed" is where invoices get delayed, deposits get forgotten, and handoffs fall through the cracks. A short closeout routine after each project prevents many of these problems.
Onboarding protects you before work starts. Closeout protects you after it ends.
Ready to create clearer invoices?
Create up to 3 invoices per month free. No credit card required.
BillerBear Editorial
Continue reading
Freelance Change Order Template: Document, Approve, and Invoice Scope Changes
A freelance change order turns 'can you also add...' into documented, approved, billable work. Here's what to include, how to get sign-off, and how to invoice it.
Freelance Client Onboarding Checklist: What to Lock Down Before the First Invoice
Most payment problems start before the project does. Use this freelance client onboarding checklist so your first invoice lands with the right person and the right terms.
5 Client Red Flags That Predict Payment Problems
Learn the five early warning signs during client onboarding that predict late payments and unpaid invoices. Protect your freelance cash flow before the project starts.